This page shows the supported SimpleX pairing and approval flow.
This walkthrough assumes channels.openclaw-simplex.connection.wsUrl already points to a running SimpleX runtime. If not, start with Getting Started.
Generate a one-time invite link with the plugin CLI:
openclaw simplex invite create --qr
You can also generate or inspect links directly in the simplex-chat console with /c, /ad, or /show_address. For automation, OpenClaw also exposes gateway methods for invites, runtime status, runtime users, verification, contact requests, group links, moderation, file controls, and link onboarding.
1

Send the first message

Send the first message from the SimpleX app and capture the pairing request.Pairing code shown in SimpleX app
2

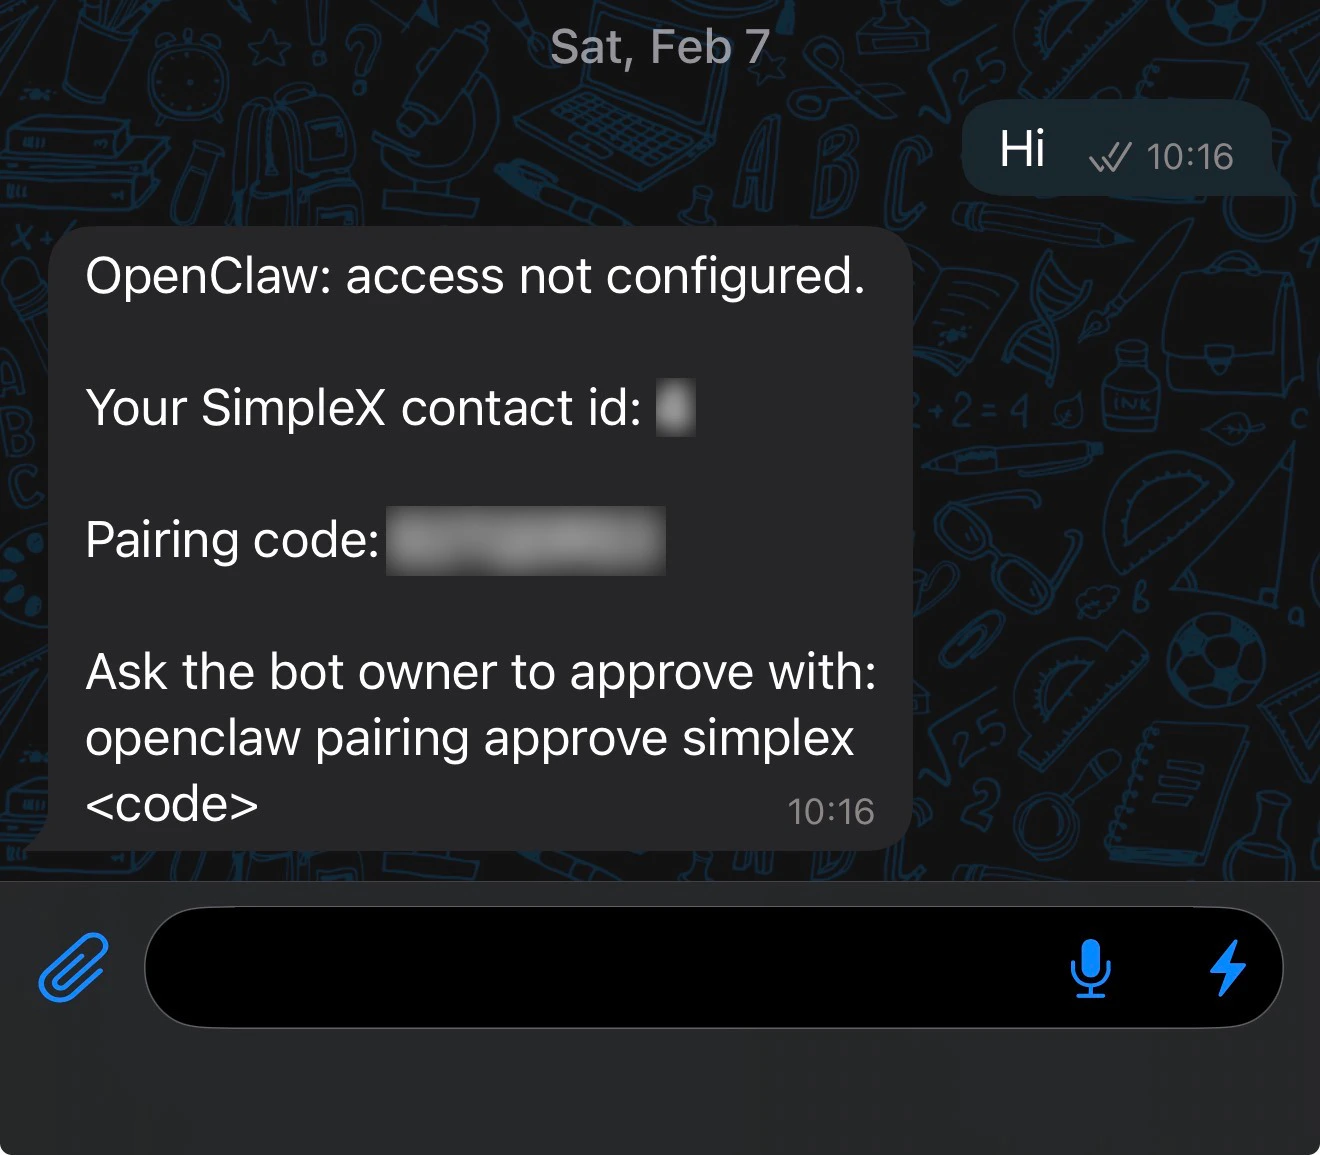
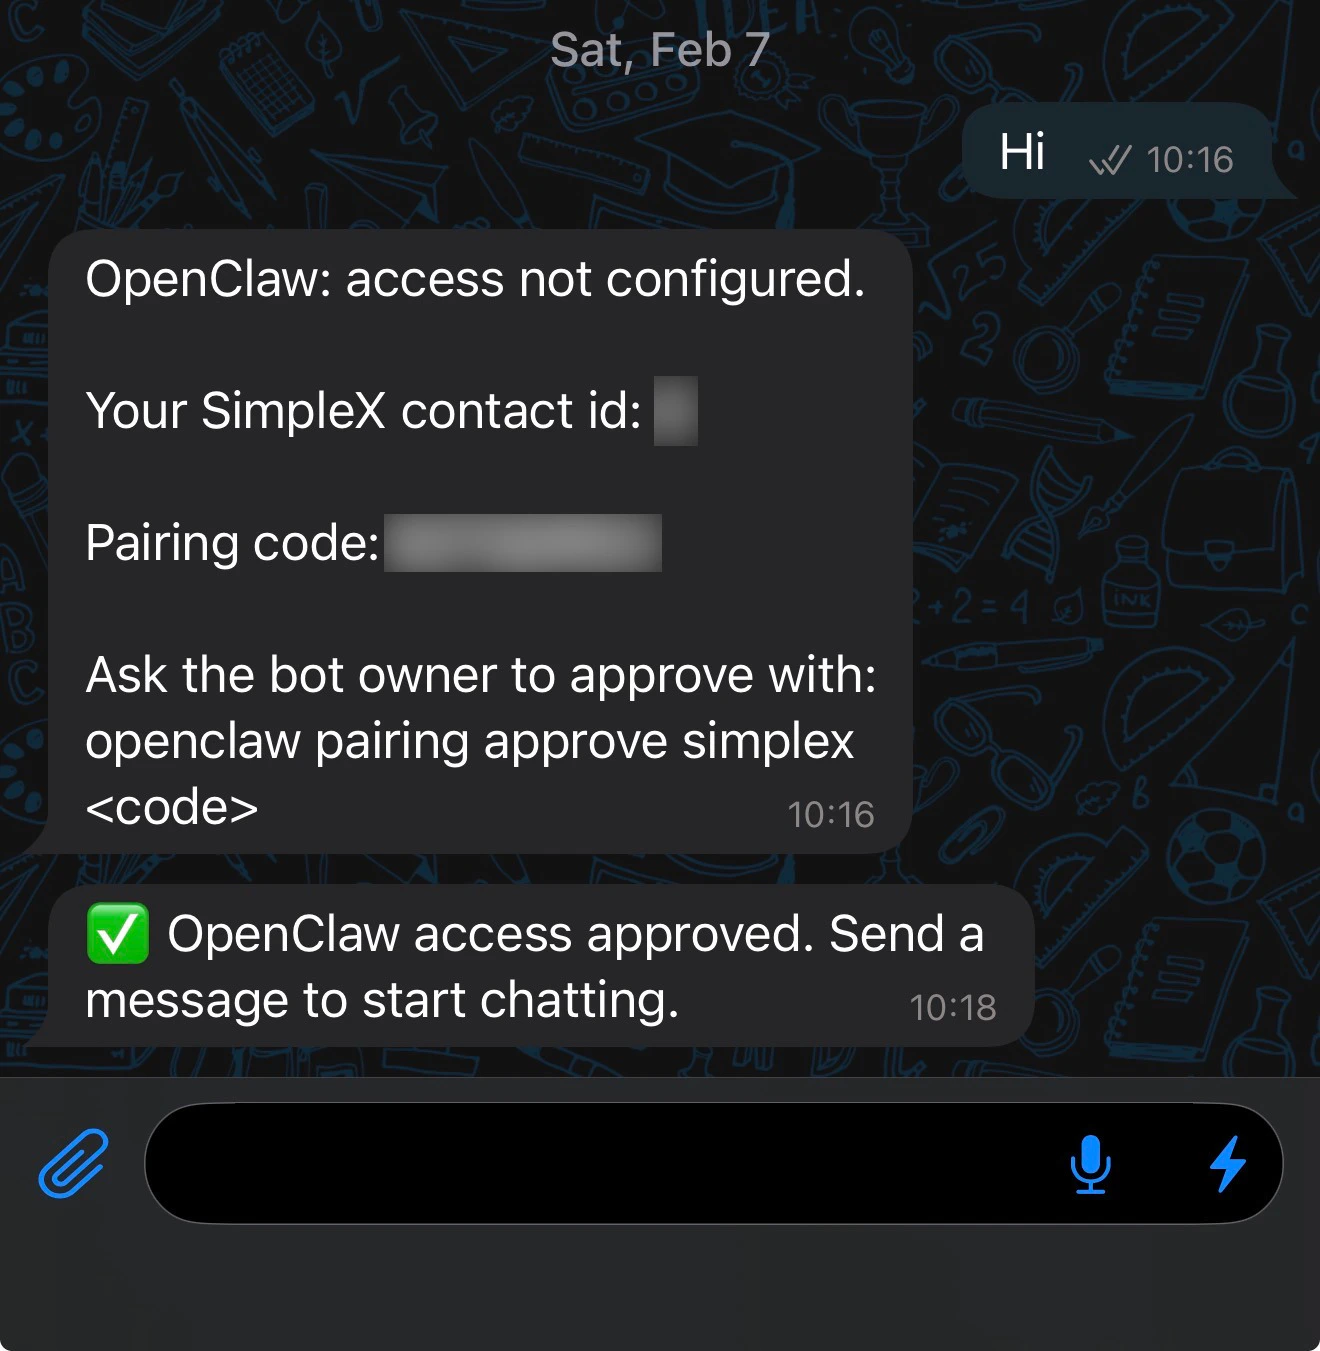
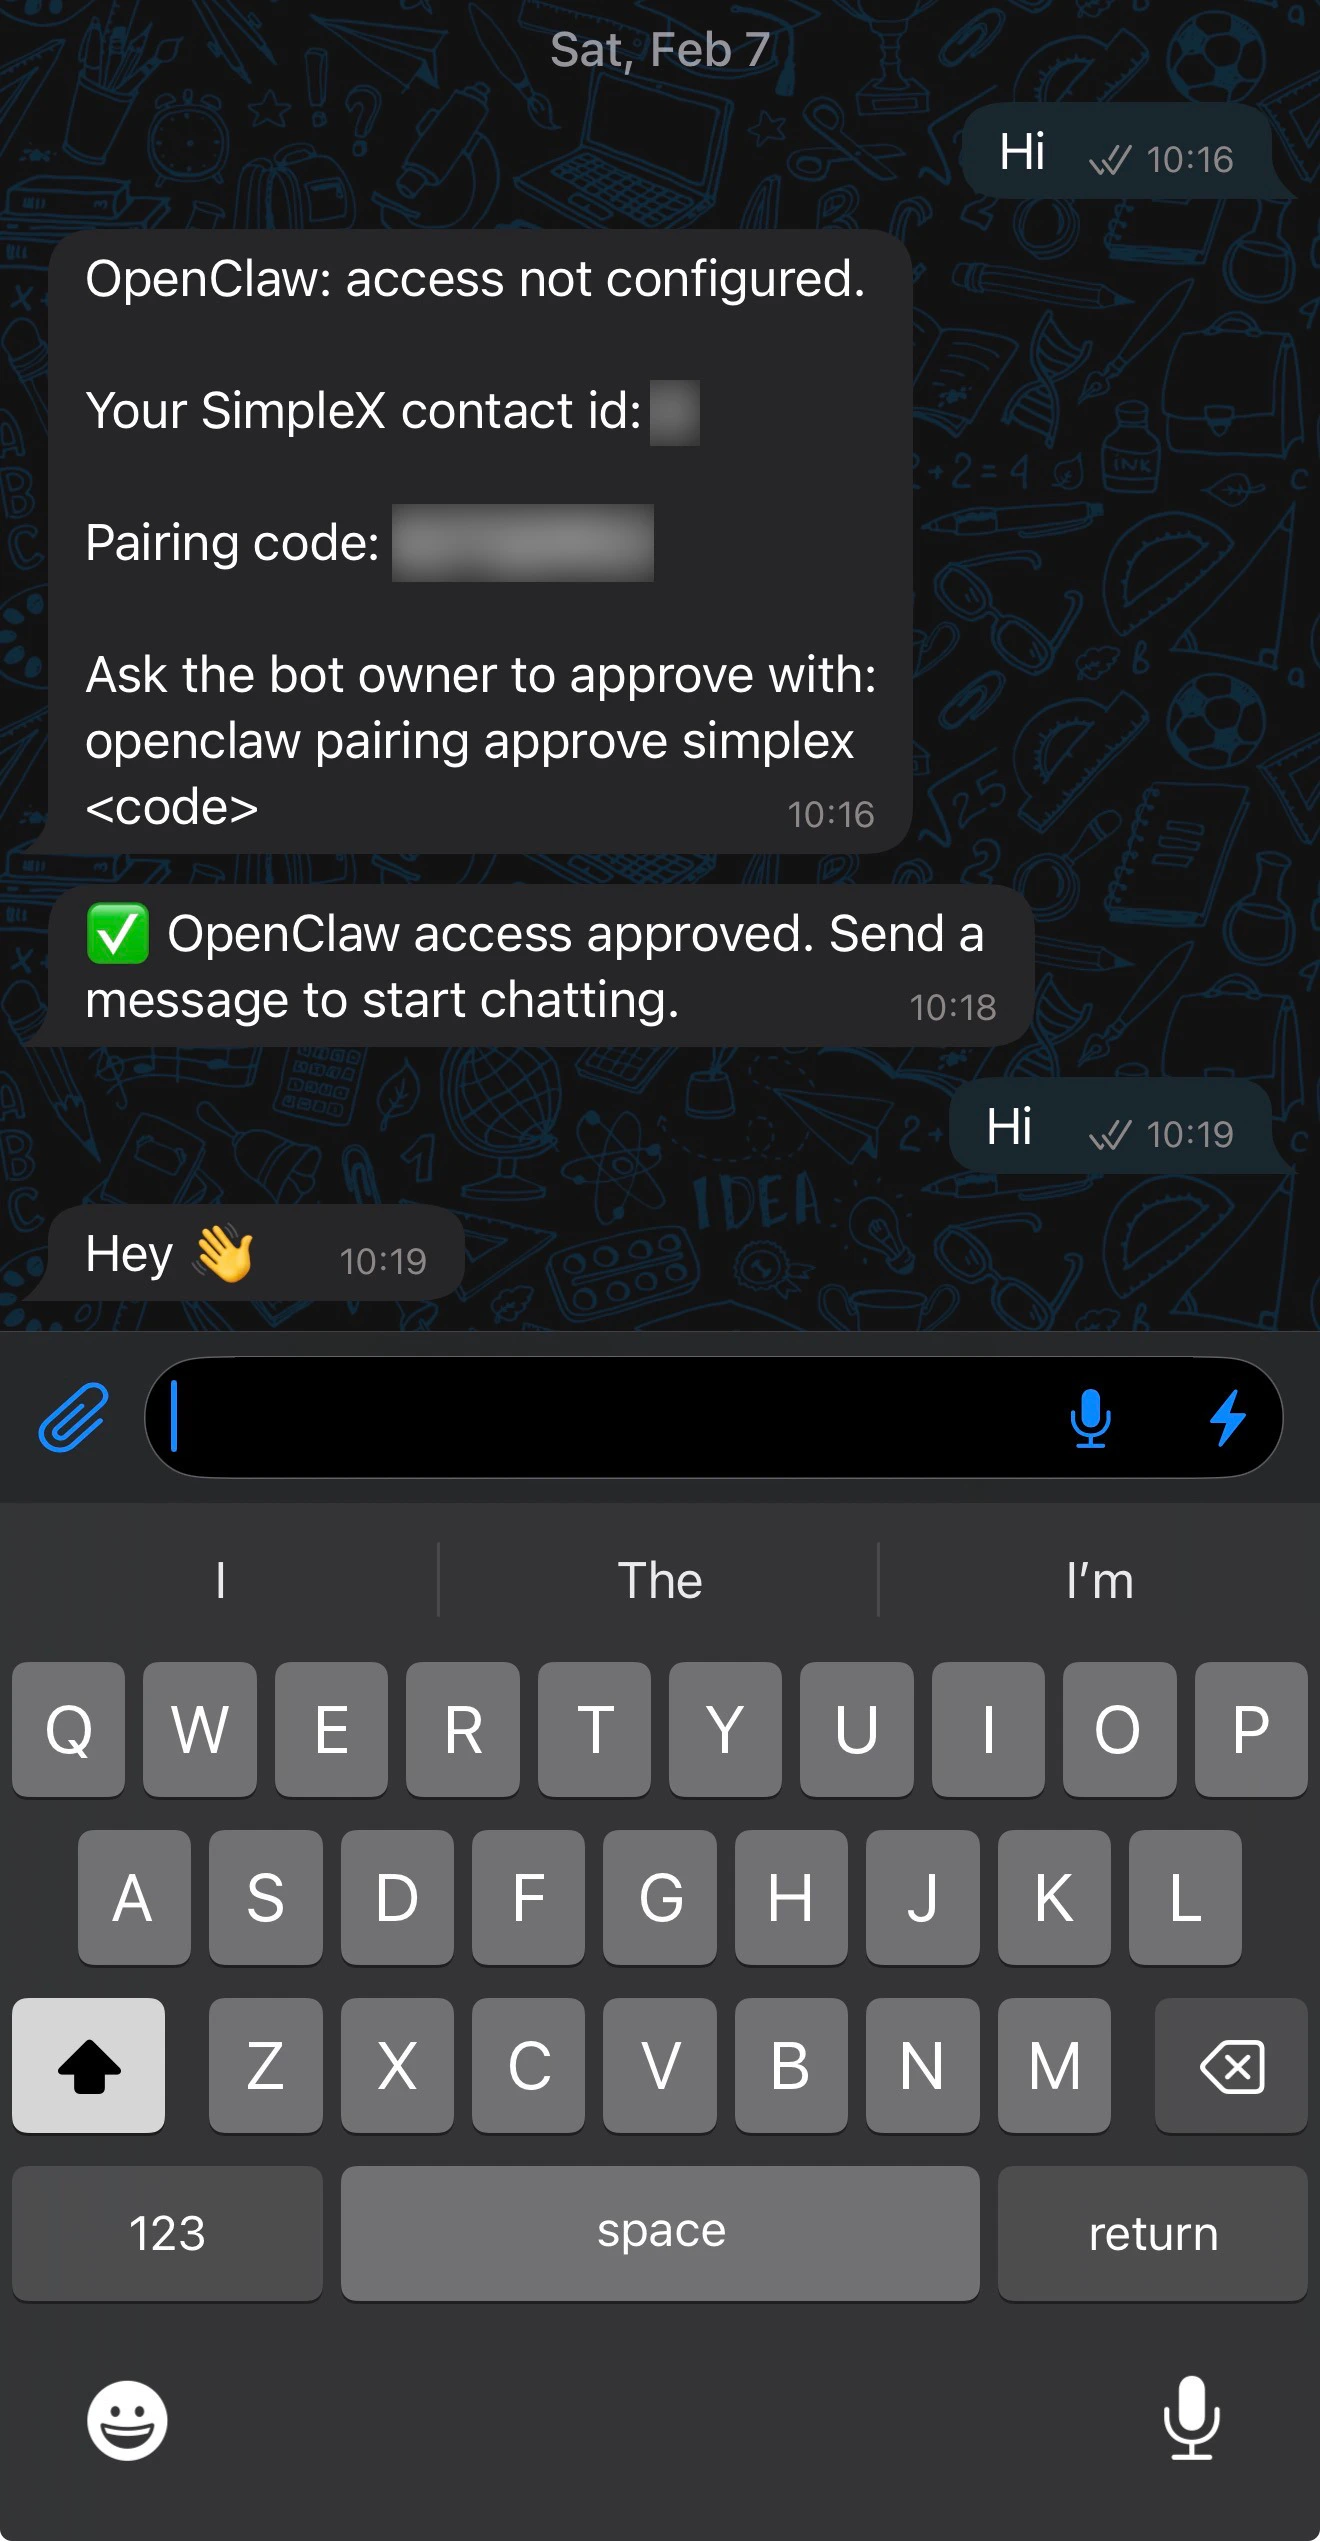
Review the pairing request in OpenClaw

openclaw pairing list should now show a pending request for the sender that just messaged the agent.OpenClaw pairing requests table
3

Approve the pairing request

openclaw pairing list
openclaw pairing approve openclaw-simplex <pairingCode>
4

Confirm approval and successful chat

After approval, SimpleX should show the access-approved message and the next user message should receive an agent reply.SimpleX access approved messageSimpleX chat after approval